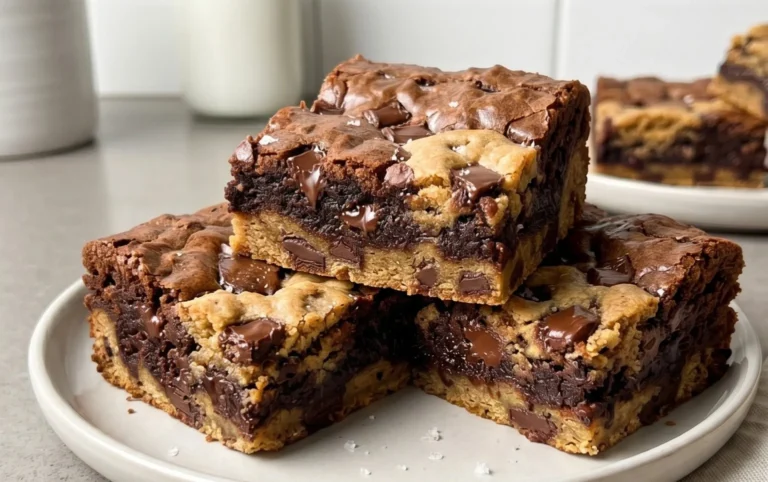
Snow Ball Brownies – Decadent Chocolate Coconut Bliss
Sno Ball Brownies are more than just a dessert; they’re a nostalgic trip back in time, a fluffy cloud of sweet indulgence that transports you straight to childhood joy. We all have those iconic treats that defined our younger years, and for many, it’s the delightful combination of moist coconut and rich chocolate. These Sno Ball Brownies capture that essence perfectly, blending the chewy, fudgy goodness of a classic brownie with the irresistible, snowy sweetness of coconut. What makes these so utterly special is the ingenious way we’ve managed to infuse that beloved Sno Ball flavor into every bite. It’s a sophisticated yet simple twist that elevates a humble brownie into something truly magical. Prepare yourself for a wave of compliments, because these beauties are guaranteed to disappear faster than you can say “encore!”
Ingredients:
- 1/2 cup (1 stick) unsalted butter
- 2 ounces unsweetened chocolate, finely chopped
- 1 cup granulated sugar
- 2 large eggs, at room temperature
- 1/2 teaspoon pure vanilla extract
- 1/4 cup all-purpose flour
- 1/4 teaspoon salt
- 1 (7-ounce) jar marshmallow fluff or creme
- 1 cup sweetened shredded coconut
- 1 tablespoon cornstarch
- 3 to 5 drops pink food coloring (gel or liquid)
Making Your Sno Ball Brownies: The Process
Now that you have all your ingredients ready, let’s dive into creating these delightful Sno Ball Brownies. This recipe combines the rich intensity of classic brownies with the sweet, airy texture of a snowball topping, all finished with a tropical hint of coconut. It’s a multi-layered treat that’s surprisingly straightforward to make.
Phase 1: Crafting the Rich Brownie Base
This first phase focuses on creating that fudgy, chocolatey foundation that is the heart of any good brownie. It’s essential to be precise here, as the balance of ingredients is key to achieving the perfect texture.
1. Melt the Chocolate and Butter: Begin extract by gently melting the butter and the finely chopped unsweetened chocolate together. You can do this in a heatproof bowl set over a saucepan of simmering water (a double boiler method), stirring occasionally until the mixture is completely smooth and glossy. Alternatively, you can melt them in the microwave in 30-second intervals, stirring between each interval, until smooth. Be careful not to overheat the chocolate, as it can become grainy. Once melted, remove the bowl from the heat and let the mixture cool slightly for about 5 to 10 minutes. This prevents the eggs from scrambling when you add them.
2. Combine Wet Ingredients: While the chocolate mixture cools, in a separate medium-sized bowl, whisk together the granulated sugar and the two large eggs until well combined. The eggs should be fully incorporated, and the mixture will become a bit lighter in color. Next, stir in the pure vanilla extract. Ensure your eggs are at room temperature; they incorporate better into the batter, leading to a more uniform texture. If your eggs are cold, you can place them in a bowl of warm (not hot) water for about 5 minutes.
3. Integrate Chocolate into the Batter: Once the chocolate and butter mixture has cooled slightly, gradually pour it into the sugar and egg mixture, whisking continuously until everything is thoroughly combined and you have a smooth, rich chocolate batter. This is where the magic starts to happen, transforming simple ingredients into a decadent base.
4. Add Dry Ingredients for Structure: In a small bowl, whisk together the all-purpose flour and the salt. Then, gradually add this dry ingredient mixture to the wet chocolate batter, stirring just until no streaks of flour remain. It’s crucial not to overmix the batter at this stage. Overmixing can develop the gluten in the flour too much, resulting in tougher brownies. We’re aiming for a tender, fudgy texture.
Phase 2: Preparing the Sno Ball Topping
This next phase is where your brownies transform into something truly special, embracing the “Sno Ball” aspect with a fluffy, marshmallowy topping.
5. Prepare the Coconut Mixture: In a clean bowl, combine the marshmallow fluff or creme with the sweetened shredded coconut. If you’re using a very stiff marshmallow creme, you might want to warm it slightly to make it more pliable and easier to spread. You can do this by microwaving it for about 10-15 seconds. Add the cornstarch to this mixture; this will help the topping set and hold its shape better after baking. Gently fold the coconut and cornstarch into the marshmallow fluff until everything is evenly distributed.
6. Color the Topping (Optional but Recommended): For that signature “Sno Ball” pink hue, add 3 to 5 drops of pink food coloring to the marshmallow and coconut mixture. Use gel food coloring for a more vibrant color and less liquid, which can alter the texture. Gently fold the food coloring in until you achieve your desired shade of pink. Remember, you can always add more color, but you can’t take it away, so start with a smaller amount and add more as needed. This step adds a whimsical touch that makes these brownies stand out.
Phase 3: Assembling and Baking Your Sno Ball Brownies
Now it’s time to bring everything together and bake these beauties.
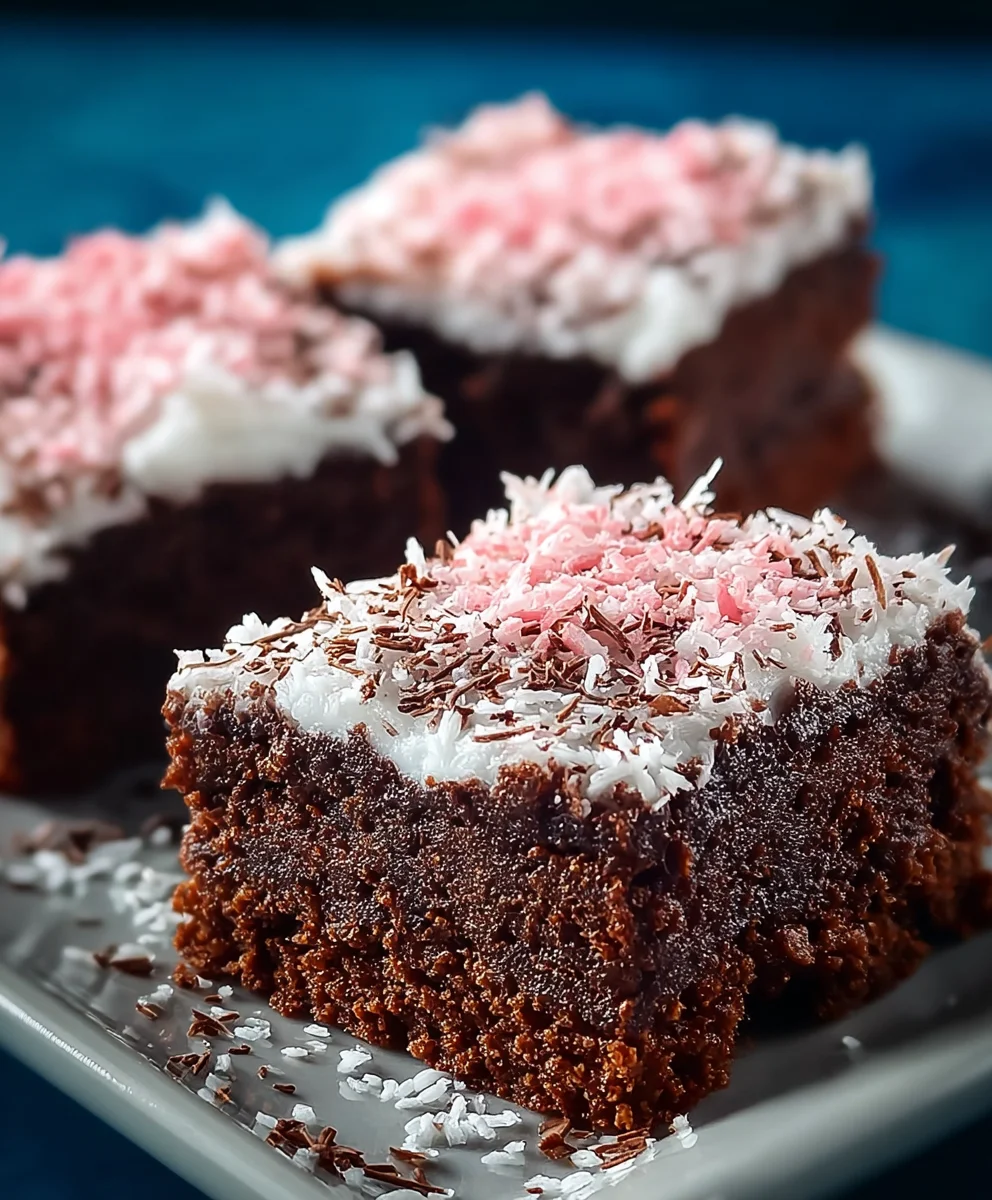
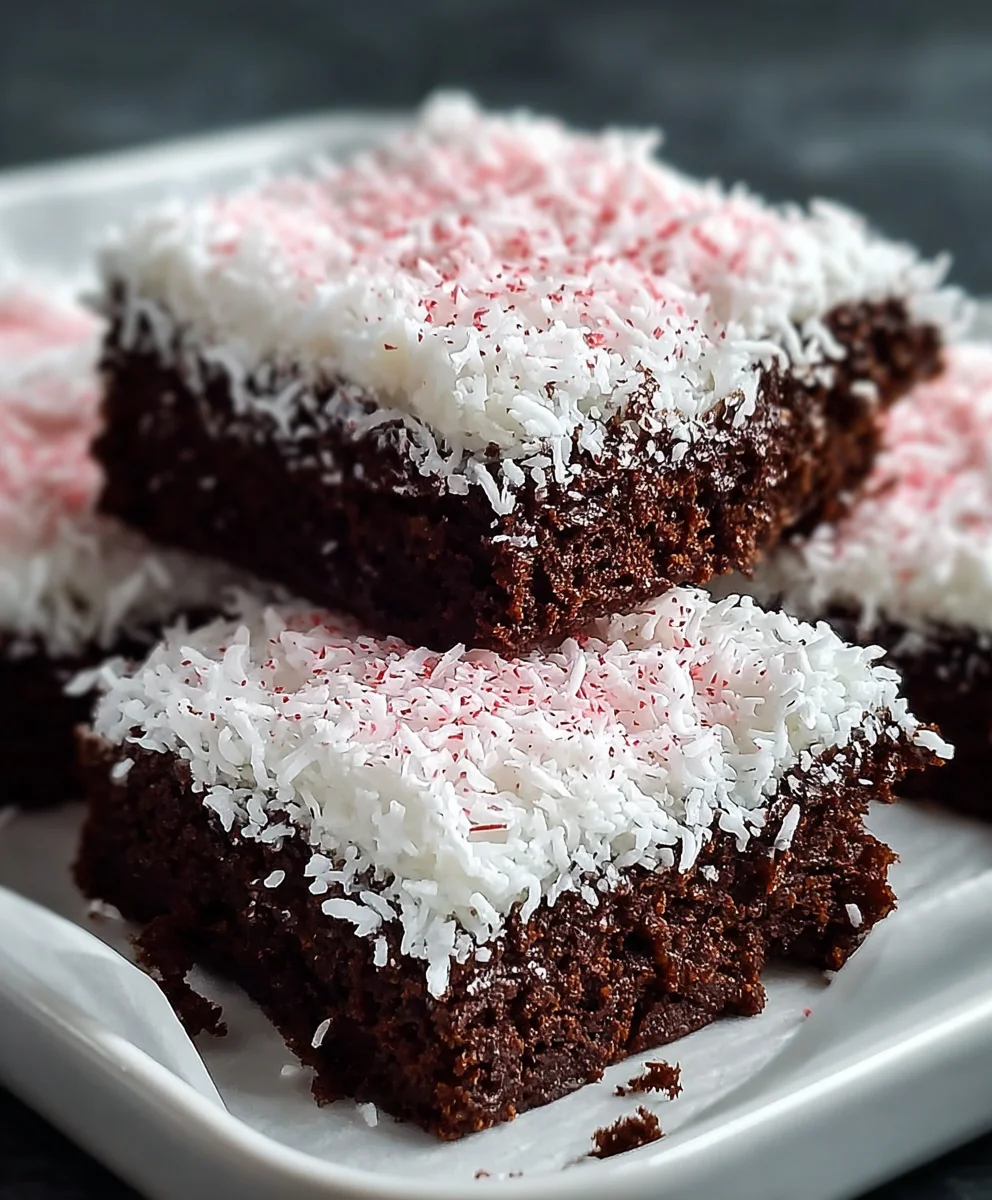
7. Assemble and Bake: Preheat your oven to 350°F (175°C). Grease and flour an 8×8 inch baking pan or line it with parchment paper, leaving some overhang on the sides to easily lift the brownies out later. Pour the brownie batter into the prepared pan and spread it evenly. Then, dollop spoonfuls of the pink marshmallow-coconut mixture evenly over the top of the brownie batter. Gently spread the topping to cover as much of the brownie surface as possible, but don’t worry about getting it perfectly smooth; some texture is nice. Place the pan in the preheated oven and bake for 25-30 minutes, or until a toothpick inserted into the center of the brownies (avoiding the marshmallow topping) comes out with moist crum extractbs attached. The marshmallow topping will puff up and may brown slightly in spots, which is perfectly normal and adds to the appeal.
8. Cool and Serve: Once baked, remove the pan from the oven and let the Sno Ball Brownies cool completely in the pan on a wire rack. This cooling process is crucial for the brownies to set properly and for the topping to firm up. Attempting to cut them while warm will likely result in a messy situation. Once fully cooled, lift the entire block of brownies out of the pan using the parchment paper overhang. Cut into squares and enjoy your unique and delicious Sno Ball Brownies!
Conclusion:
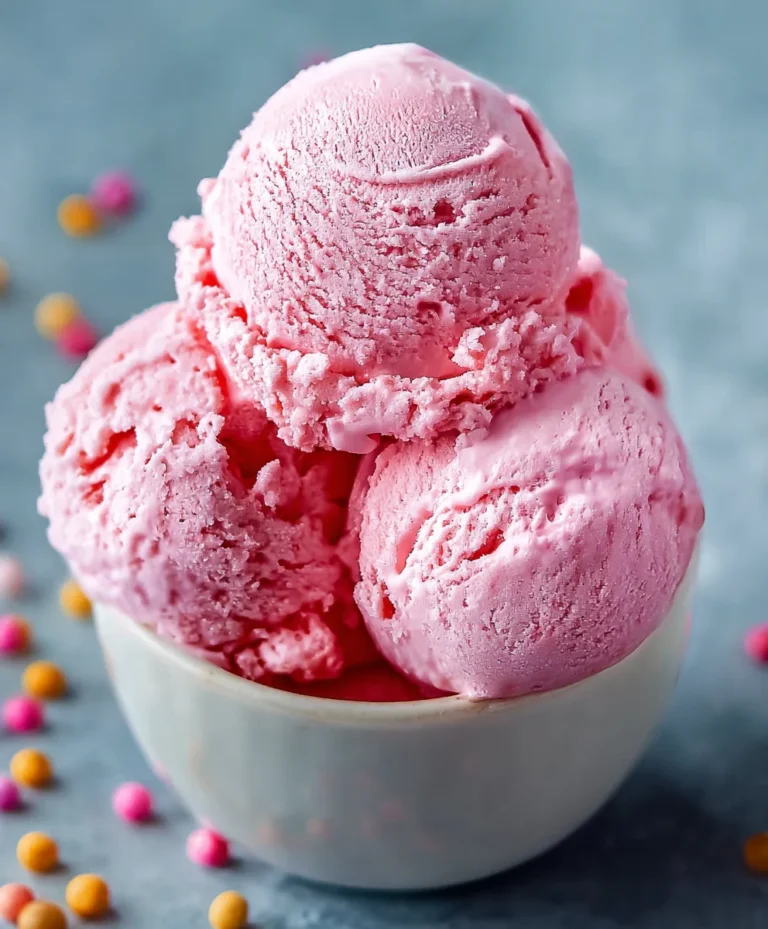
And there you have it – your guide to creating the most decadent Sno Ball Brownies! These fudgy delights, inspired by the iconic coconut-covered cake, are sure to be a showstopper. We’ve walked through each step to ensure your Sno Ball Brownies turn out perfectly moist, intensely chocolatey, and topped with that signature fluffy coconut frosting and a maraschino cherry. Don’t be afraid to experiment! These Sno Ball Brownies are fantastic on their own, but also wonderful served warm with a scoop of vanilla ice cream for an extra layer of indulgence. For a twist, consider adding a pinch of cayenne pepper to the brownie batter for a subtle kick, or swirl in some raspberry jam before baking for a delightful fruity contrast.
I truly hope you enjoy making and devouring these Sno Ball Brownies as much as I do. Remember, baking is an adventure, so have fun with it!
Frequently Asked Questions about Sno Ball Brownies:
Q1: Can I make Sno Ball Brownies ahead of time?
Absolutely! Sno Ball Brownies are even better the next day as the flavors meld together. Store them in an airtight container at room temperature for up to 3 days. If your kitchen is particularly warm, you might want to refrigerate them, but let them come to room temperature before serving for the best texture.
Q2: What kind of chocolate should I use for the best Sno Ball Brownies?
For the most intense chocolate flavor in your Sno Ball Brownies, I recommend using a good quality bittersweet or semi-sweet chocolate. Using both chopped chocolate and cocoa powder will give you a wonderfully complex chocolate profile. Avoid using milk chocolate in the brownie base, as it can make them too sweet and less fudgy.
Sno Ball Brownies – Decadent Chocolate Coconut Bliss
A delightful treat combining rich chocolate brownies with a fluffy, pink coconut marshmallow topping.
Ingredients
-
1/2 cup unsalted butter
-
2 ounces unsweetened chocolate, finely chopped
-
1 cup granulated sugar
-
2 large eggs
-
1/2 teaspoon pure vanilla extract
-
1/4 cup all-purpose flour
-
1/4 teaspoon salt
-
1 (7-ounce) jar marshmallow fluff or creme
-
1 cup sweetened shredded coconut
-
1 tablespoon cornstarch
-
3 to 5 drops pink food coloring
Instructions
-
Step 1
Melt the butter and unsweetened chocolate together using a double boiler or microwave. Let cool slightly. -
Step 2
In a separate bowl, whisk together sugar and eggs until combined. Stir in vanilla extract. -
Step 3
Gradually add the cooled chocolate mixture to the sugar and egg mixture, whisking until smooth. Stir in flour and salt until just combined. -
Step 4
In another bowl, combine marshmallow fluff, shredded coconut, and cornstarch. Gently fold in pink food coloring until desired shade is reached. -
Step 5
Preheat oven to 350°F (175°C). Pour brownie batter into a greased and floured 8×8 inch pan. Dollop and spread the marshmallow-coconut mixture evenly over the batter. -
Step 6
Bake for 25-30 minutes, or until a toothpick inserted into the brownies comes out with moist crumbs. Let cool completely before cutting.
Important Information
Nutrition Facts (Per Serving)
It is important to consider this information as approximate and not to use it as definitive health advice.
Allergy Information
Please check ingredients for potential allergens and consult a health professional if in doubt.