Masoor Dal Chilla Savory Red Lentil Pancakes
Masoor Dal Chilla | Savory Red Lentil Pancakes are a culinary revelation waiting to happen in your kitchen. Forget bland breakfasts or uninspired snacks; this dish is a vibrant explosion of flavor and texture that has captured hearts for generations. What’s not to love? These aren’t just any pancakes; they are a testament to the humble red lentil, transformed into a wonderfully savory, protein-packed delight. People adore Masoor Dal Chilla for its incredible versatility – it’s perfect for a quick weeknight dinner, a wholesome breakfast to kickstart your day, or even a satisfying light lunch. The magic lies in its simplicity, yet it delivers a depth of flavor that’s truly addictive. The slightly crisp edges, the soft, yielding center, and the subtle earthy notes of the lentils create an experience that’s both comforting and exciting. Get ready to discover your new favorite go-to recipe!
Masoor Dal Chilla | Savory Red Lentil Pancakes
Masoor Dal Chilla, or savory red lentil pancakes, are a wonderfully nutritious and incredibly versatile dish that has become a staple in my kitchen. They’re a fantastic way to enjoy the goodness of lentils in a lighter, more exciting format than your typical dal. These chillas are naturally gluten-free and packed with protein, making them a perfect breakfast, brunch, or even a light lunch. They have a lovely, slightly earthy flavor from the red lentils, a gentle kick from the green chili and gin extractger, and a refreshing brightness from the cilantro. Plus, they’re surprisingly easy to whip up, even on a busy morning. Let me guide you through making these delicious pancakes; I promise you’ll be hooked!
Ingredients:
Preparing the Lentil Batter
The first and most crucial step in making your Masoor Dal Chilla is preparing the lentil batter. This involves soaking the lentils and then grinding them into a smooth, pourable consistency.
1. Soak the Red Lentils: Take your 1 cup of split red lentils and place them in a bowl. Rinse them thoroughly under cold running water at least 2-3 times. You want to get rid of any dust or debris. Once rinsed, add 3 cups of fresh water to the bowl. Let the lentils soak for at least 2-3 hours. If you have more time, soaking them for 4 hours or even overnight in the refrigerator will yield an even smoother batter. Soaking is essential as it softens the lentils, making them easier to grind and digest, and it also helps to reduce their cooking time.
2. Grind the Batter: After soaking, drain the water completely from the lentils. You’ll notice they’ve plumped up. Now, it’s time to blend them. You can use a high-powered blender or a food processor for this. Add the soaked lentils to your blender jar. Now, let’s add our flavor enhancers. Finely chop the 1 green chili and add it to the blender. If you prefer it milder, you can remove the seeds and membranes before adding. Next, peel and roughly chop the 1-inch piece of gin extractger and add it. For seasoning, add 1 teaspoon of kosher salt. Now, pour in ½ cup of water. This amount of water might seem a little, but it’s a good starting point. You want to achieve a batter consistency similar to pancake batter – not too thick that it’s difficult to spread, and not too thin that it becomes watery and breaks when cooking. Blend everything until you have a smooth, lump-free paste. If your blender is struggling, you can add a tablespoon or two more water, but do so sparingly. The batter should be thick enough to coat the back of a spoon but still pourable.
3. Add Freshness: Once your batter is smooth and has the right consistency, pour it into a mixing bowl. Now it’s time to add the fresh herbs. Finely chop 2 tablespoons of cilantro and gently fold it into the lentil batter. The cilantro adds a beautiful fresh aroma and a vibrant burst of flavor that complements the earthy lentils perfectly. Give the batter a good mix to ensure the cilantro is evenly distributed. At this stage, you can also do a taste test and adjust the salt if needed. The batter is now ready to be cooked into delicious chillas!
Cooking the Masoor Dal Chilla
This is where the magic happens! Cooking the chillas is quick and satisfying.
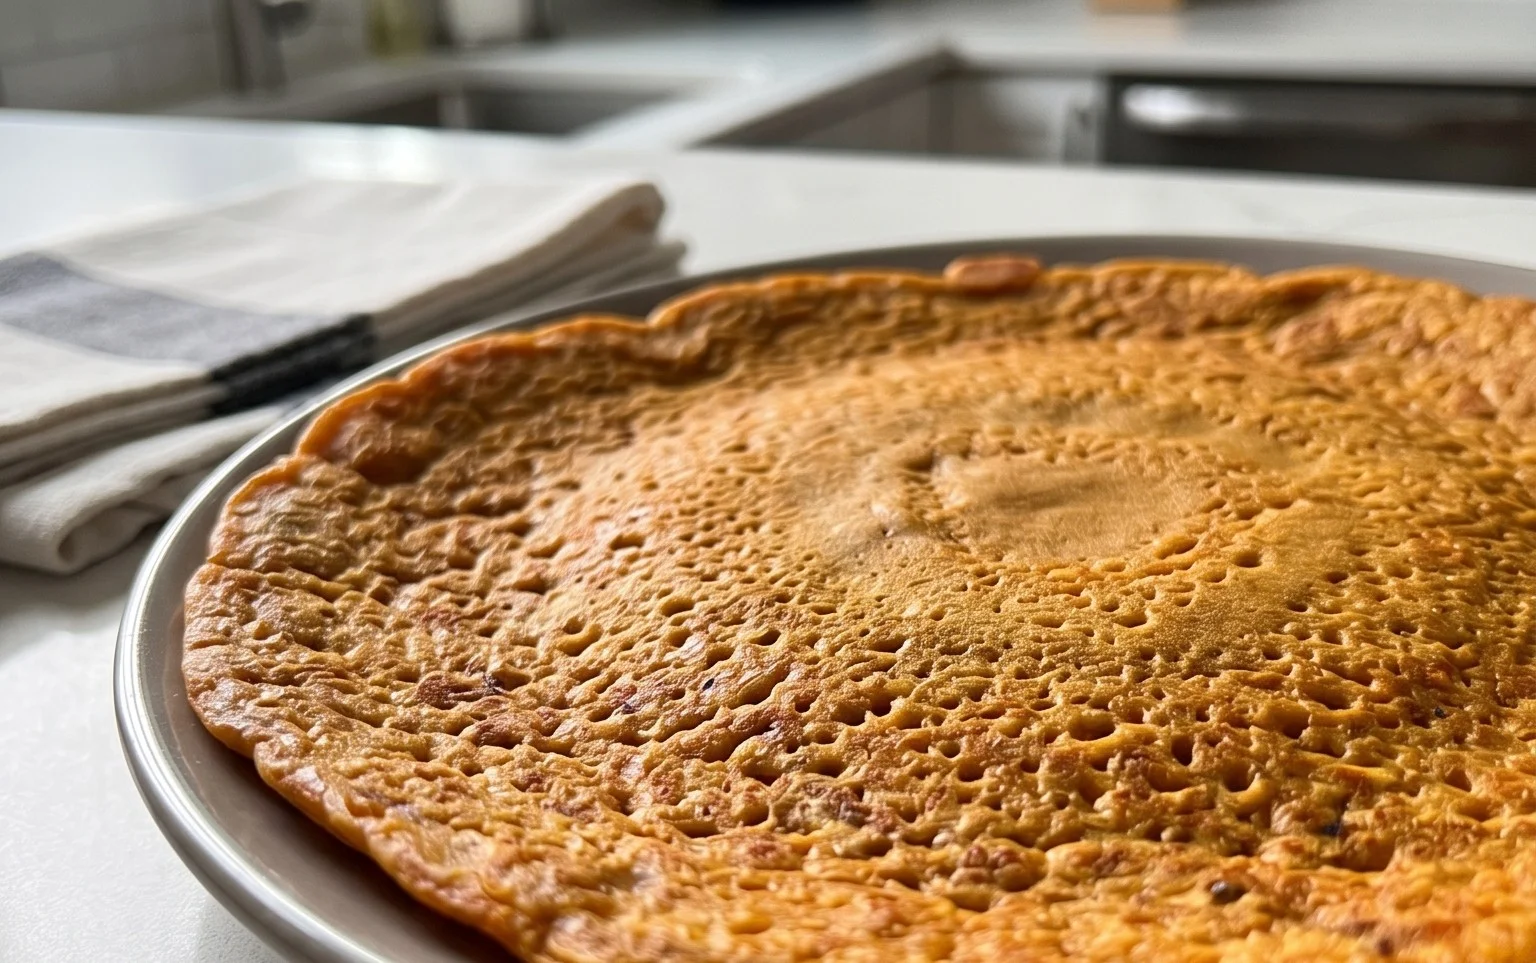
4. Heat the Pan and Cook the First Chilla: Place a non-stick skillet or a well-seasoned cast-iron griddle over medium heat. Let it heat up thoroughly. Once the pan is hot, add about ½ tablespoon of oil and swirl it around to coat the surface evenly. You can test if the pan is hot enough by flicking a tiny drop of water onto it; it should sizzle and evaporate immediately. Now, take a ladleful of your prepared lentil batter. Pour it onto the hot skillet and immediately start spreading it outwards with the back of the ladle in a circular motion to form a thin, even pancake. Aim for a diameter of about 6-7 inches. Don’t make them too thick, or they won’t cook through properly and might be gummy.
5. Cook and Flip: Let the chilla cook on the first side for about 2-3 minutes. You’ll start to see small bubbles forming on the surface, and the edges will begin extract to look slightly dry and golden brown. This is your cue to flip it. Carefully slide a spatula underneath the chilla and gently flip it over. Drizzle a little more oil around the edges of the chilla and on the top surface if you like a crispier texture. Cook the other side for another 1-2 minutes, or until it’s golden brown and cooked through. You’ll know it’s done when the batter is no longer liquid and the pancake is firm to the touch.
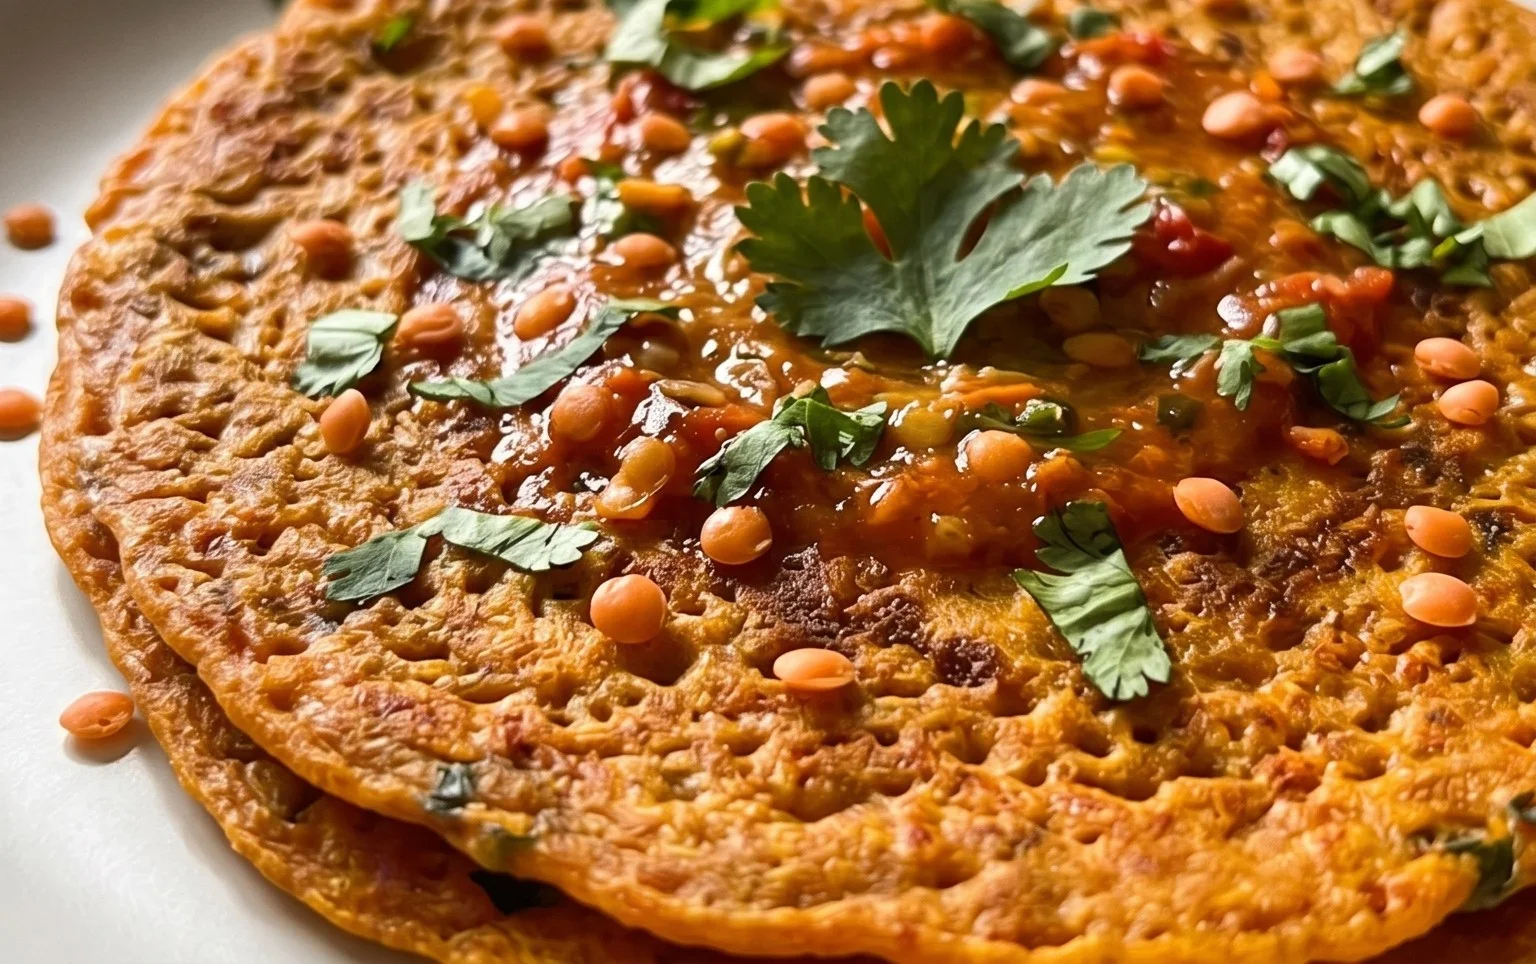
6. Serve and Enjoy: Once the chilla is cooked to perfection on both sides, slide it onto a plate. Repeat the process with the remaining batter, adding oil to the pan as needed between each chilla. You’ll want to keep the heat at medium throughout the cooking process. If the heat is too high, the chillas might burn on the outside before cooking through. If it’s too low, they may become greasy and not get crispy. This recipe should yield about 4-5 chillas, depending on their size. Serve your hot Masoor Dal Chilla immediately with your favorite accompaniments. I love mine with a dollop of yogurt or a spicy tomato chutney, but they are also delicious on their own. They make a wholesome and satisfying meal that’s good for you and tastes incredible!
Conclusion:
You’ve now got the recipe for Masoor Dal Chilla, a truly wonderful and versatile dish that’s as healthy as it is delicious! This savory red lentil pancake is a fantastic option for a quick breakfast, a light lunch, or even a satisfying snack. Its beauty lies in its simplicity and adaptability. The protein-rich masoor dal makes these chillas incredibly filling and nourishing, providing sustained energy throughout your day. They’re naturally gluten-free and vegan-friendly, making them a perfect choice for a wide range of dietary preferences.
I highly encourage you to give this Masoor Dal Chilla recipe a try! Don’t be afraid to experiment with your favorite spices and additions. Serve them hot off the griddle with a dollop of yogurt, a tangy chutney, or even some fresh avocado. For a heartier meal, consider topping them with sautéed vegetables or a sprinkle of cheese. The possibilities are truly endless, and you’ll quickly discover your own favorite way to enjoy these delightful red lentil pancakes.
Frequently Asked Questions:
Can I make the batter ahead of time?
Yes, absolutely! You can prepare the batter for your Masoor Dal Chilla a day in advance and store it in an airtight container in the refrigerator. Give it a good stir before cooking, as it might thicken slightly. This is a great time-saver for busy mornings!
What are some good filling ideas for the chillas?
The options are extensive! You can fill them with spiced mashed potatoes, grated paneer or tofu with herbs, sautéed spinach and mushrooms, or even a mixture of finely chopped onions, tomatoes, and cilantro. Think of them as a blank canvas for your culinary creativity!
Are these chillas suitable for picky eaters?
Generally, yes! The flavor of the masoor dal is quite mild and can be easily masked or enhanced with other ingredients. You can start with a simpler version, using just salt and a hint of cumin, and gradually introduce other spices as they become more adventurous. Serving them with familiar accompaniments like ketchup or a mild yogurt dip can also help.
Masoor Dal Chilla | Savory Red Lentil Pancakes
A simple and healthy savory pancake made from red lentils, spiced with green chili and ginger.
Ingredients
-
1 cup split red lentils (masoor dal)
-
3 cups water (for soaking lentils)
-
1 green chilli
-
1 inch ginger
-
1 teaspoon kosher salt
-
½ cup water (for grinding)
-
2 tablespoons cilantro (finely chopped)
-
2 tablespoons oil
Instructions
-
Step 1
Rinse the masoor dal thoroughly and soak it in 3 cups of water for at least 4-6 hours or overnight. -
Step 2
Drain the soaked lentils completely. Add the drained lentils, green chilli, ginger, and kosher salt to a blender or food processor. -
Step 3
Add ½ cup of water to the blender and grind to a smooth batter, similar in consistency to dosa batter. Add more water if needed. -
Step 4
Stir in the finely chopped cilantro into the batter. -
Step 5
Heat about 1 teaspoon of oil in a non-stick skillet or tawa over medium heat. -
Step 6
Pour a ladleful of batter onto the hot skillet and spread it in a circular motion to form a thin pancake. Cook for 1-2 minutes until the edges start to lift. -
Step 7
Flip the chilla and cook for another 1-2 minutes until golden brown and cooked through. Repeat with the remaining batter, adding oil as needed for each chilla.
Important Information
Nutrition Facts (Per Serving)
It is important to consider this information as approximate and not to use it as definitive health advice.
Allergy Information
Please check ingredients for potential allergens and consult a health professional if in doubt.