Jalapeno Popper Cheese Ball Recipe- Easy Appetizer
Jalapeno Popper Cheese Ball. If you’re looking for a crowd-pleasing appetizer that delivers serious flavor, you’ve found your match! This isn’t just any cheese ball; it’s a glorious fusion of everything we adore about those fiery, cheesy jalapeno poppers, all rolled into one irresistible sphere. Imagin extracte the creamy, tangy embrace of cream cheese mingling with sharp cheddar, punctuated by the zesty kick of diced jalapenos and the smoky crunch of beef bacon. It’s the perfect balance of heat and savory goodness that makes people reach for just one more bite, and then another. This Jalapeno Popper Cheese Ball is the ultimate party starter, guaranteed to disappear faster than you can say “more crackers, please!” It’s the perfect blend of familiar comfort and exciting spice, making it a standout on any appetizer table.
Jalapeno Popper Cheese Ball
This Jalapeno Popper Cheese Ball is the ultimate appetizer for any gathering. It’s a flavor explosion that combines the creamy, cheesy goodness of a classic cheese ball with the spicy kick of jalapenos and the smoky crunch of beef beef bacon. It’s incredibly easy to make, requiring no baking, and is always a crowd-pleaser. The best part is you can customize the spice level by adjusting the amount of jalapenos used, making it perfect for both mild and fiery palates.
Ingredients:
Instructions:
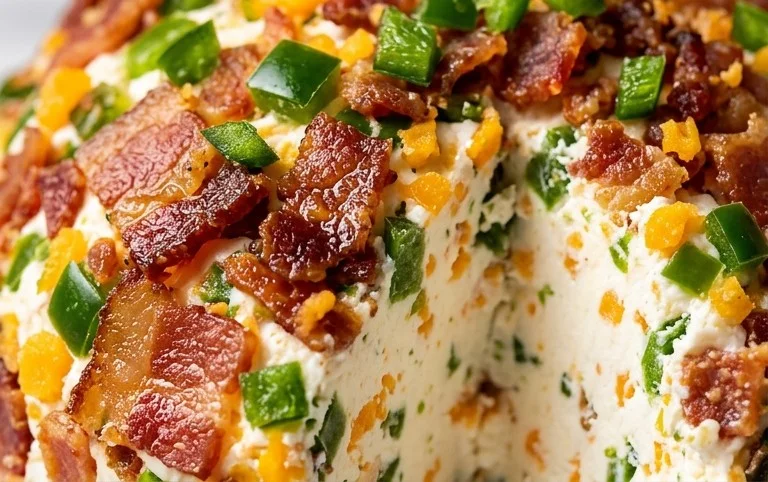
In a large mixing bowl, combine the slightly softened cream cheese, sour cream, garlic powder, onion powder, and fresh ground black pepper. Use an electric mixer or a sturdy spoon to beat and blend these ingredients until they are completely smooth and well incorporated. This creamy base is the foundation of our cheese ball, so ensure it’s free of any lumps. The sour cream adds a lovely tang and helps to make the mixture lighter and easier to spread. Don’t rush this step; a well-combined base will lead to a more cohesive and delicious final product.
Now, it’s time to add the star ingredients! Stir in 1 ½ cups of the shredded sharp cheddar cheese, half of the chopped crispy cooked beef beef bacon (about 5 slices worth), half of the minced jalapenos (about 1 jalapeno), and half of the chopped green onions (about ¼ cup). Gently fold these ingredients into the cream cheese mixture. You want to distribute them evenly throughout the cheese base. If you prefer a milder flavor, you can reduce the amount of jalapeno used. Conversely, if you love heat, feel free to add a little more. Make sure to reserve the remaining cheddar cheese, beef beef bacon, jalapenos, and green onions for coating the outside of the cheese ball.
Once all the add-ins are mixed in, cover the bowl tightly with plastic wrap. Place the mixture in the refrigerator for at least 1 hour, or preferably 2 hours. This chilling time is crucial for a few reasons. Firstly, it allows the flavors to meld together beautifully, creating a more complex and satisfying taste. Secondly, and most importantly, it firms up the cheese mixture, making it much easier to shape into a ball without it becoming too sticky or messy. The longer you chill it, the firmer it will get, which will simplify the shaping process significantly.
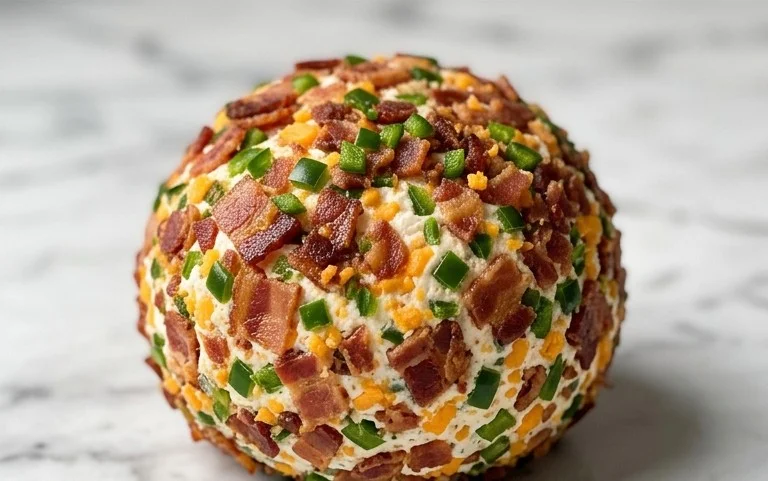
Prepare your coating mixture. On a large plate or shallow dish, combine the reserved ½ cup of shredded sharp cheddar cheese, the remaining half of the chopped crispy cooked beef beef bacon, the remaining half of the minced jalapenos, and the remaining half of the chopped green onions. Mix these ingredients together thoroughly. This will be the flavorful and visually appealing exterior of your cheese ball. The combination of sharp cheddar, smoky beef bacon, spicy jalapenos, and fresh green onions creates a fantastic textural and flavorful contrast to the creamy interior.
Once the cheese mixture has chilled and firmed up, it’s time to shape it. Remove the bowl from the refrigerator. You can either use your hands to gently shape the mixture into a ball, or if it’s quite firm, you can scoop it out with a spoon and carefully roll it between your hands. If the mixture is still a bit sticky, you can lightly dampen your hands with water or oil. Once you have a nice, compact ball shape, carefully roll it in the prepared coating mixture, pressing gently to ensure the coating adheres evenly on all sides. Make sure every inch is covered for maximum flavor and visual appeal. For an extra festive touch, you can even reserve a tiny bit of each coating ingredient to sprinkle on top as a garnish.
For the best flavor and texture, cover the shaped cheese ball with plastic wrap and refrigerate for at least another 30 minutes before serving. This final chilling period allows the flavors to fully develop and ensures the cheese ball is firm enough to serve with crackers or assorted breads without falling apart. When you’re ready to serve, place the cheese ball on a serving platter and surround it with your favorite crackers, baguette slices, or vegetable sticks. This Jalapeno Popper Cheese Ball is guaranteed to be the highlight of your appetizer spread. Enjoy the delightful combination of creamy, spicy, and savory flavors!
Conclusion:
So there you have it – the ultimate guide to creating your very own Jalapeno Popper Cheese Ball! This recipe is a guaranteed crowd-pleaser, offering that perfect balance of creamy, cheesy goodness with a spicy kick that will have everyone asking for more. It’s incredibly versatile, making it an ideal appetizer for game days, holiday gatherings, or simply a delightful treat for a cozy night in. Don’t be intimidated by the heat; the cream cheese and other ingredients beautifully temper the jalapeño’s fire, resulting in a wonderfully complex flavor profile. I truly encourage you to give this Jalapeno Popper Cheese Ball a try – I’m confident you’ll love it as much as I do!
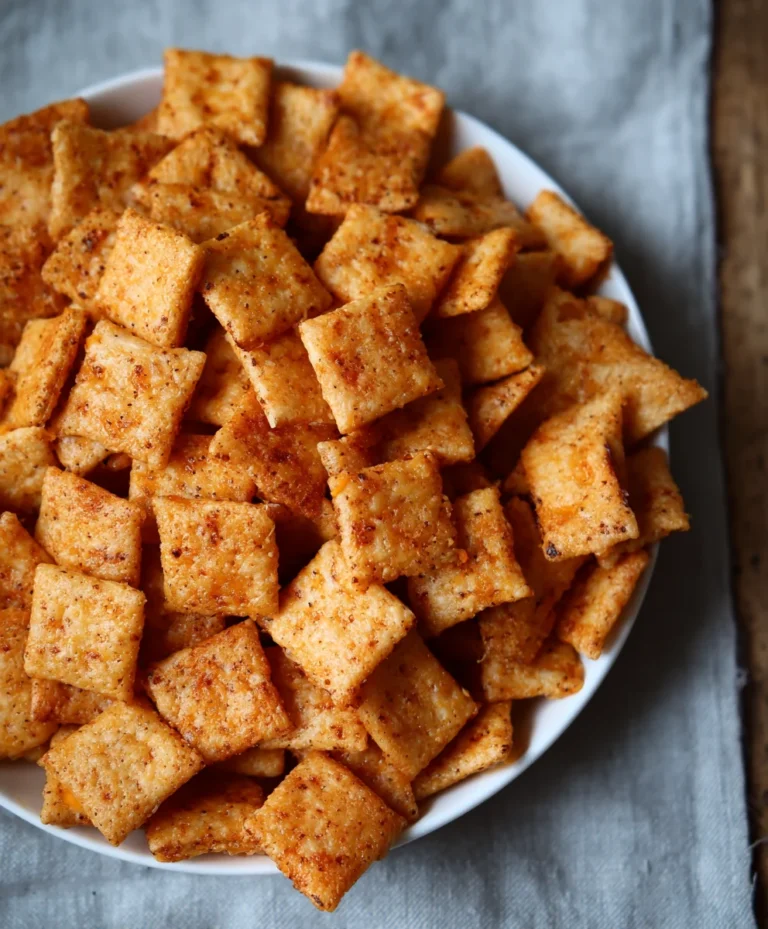
For serving, I love pairing this cheese ball with an assortment of dippers. Think crisp pretzel rods, sturdy crackers like Triscuits or oyster crackers, fresh vegetable sticks such as celery and bell peppers, and even toasted baguette slices. If you’re feeling adventurous, you can explore variations! Consider adding a tablespoon of crum extractbled cooked beef bacon for an extra layer of savory flavor, or swap out some of the cheddar for Monterey Jack or pepper jack cheese to adjust the spice level. You could also roll the finished cheese ball in chopped pecans or crispy fried onions for added texture.
Frequently Asked Questions:
Can I make this Jalapeno Popper Cheese Ball ahead of time?
Absolutely! This cheese ball is a fantastic make-ahead appetizer. You can prepare it up to 2 days in advance. Simply wrap it tightly in plastic wrap and store it in the refrigerator. Allow it to sit at room temperature for about 15-20 minutes before serving to soften slightly for optimal spreadability.
How spicy is this cheese ball? Can I make it milder or spicier?
The spice level is moderate, thanks to the cream cheese balancing the jalapeños. To make it milder, you can remove the seeds and membranes from the jalapeños before mincing them, as this is where most of the heat resides. For a spicier version, you can leave some of the seeds in, or even add a pinch of cayenne pepper to the mixture. You could also consider using a mix of fresh jalapeños and pickled jalapeños for varying heat and tang.
What if I don’t like cream cheese?
While cream cheese is a core component for achieving that signature creamy texture, you could experiment with substituting a portion of it with softened goat cheese for a tangy twist. However, keep in mind that the overall texture and flavor profile will change significantly.
Jalapeno Popper Cheese Ball
A delicious and addictive cheese ball inspired by the flavors of jalapeno poppers, perfect for parties and gatherings.
Ingredients
-
2 boxes (8 ounces) cream cheese, slightly softened
-
2 tablespoons sour cream
-
3/4 teaspoon garlic powder
-
1/2 teaspoon onion powder
-
1/4 teaspoon fresh ground black pepper
-
2 cups shredded sharp cheddar cheese
-
10 slices crispy cooked pork bacon, chopped
-
2 jalapenos, minced
-
1/2 cup chopped green onions
Instructions
-
Step 1
In a large bowl, beat the softened cream cheese until smooth. -
Step 2
Stir in the sour cream, garlic powder, onion powder, and black pepper until well combined. -
Step 3
Add 1 1/2 cups of the shredded cheddar cheese, half of the chopped bacon, half of the minced jalapenos, and half of the chopped green onions. Mix until everything is evenly distributed. -
Step 4
Chill the mixture for at least 30 minutes to make it easier to shape. -
Step 5
Shape the chilled mixture into a ball and place it on a serving plate. -
Step 6
In a small bowl, combine the reserved 1/2 cup shredded cheddar cheese, the remaining chopped bacon, remaining minced jalapenos, and remaining chopped green onions. -
Step 7
Press the cheese, bacon, jalapeno, and green onion mixture onto the outside of the cheese ball to coat. -
Step 8
Chill for another 30 minutes before serving with crackers or bread.
Important Information
Nutrition Facts (Per Serving)
It is important to consider this information as approximate and not to use it as definitive health advice.
Allergy Information
Please check ingredients for potential allergens and consult a health professional if in doubt.