Easy Buster Bar Ice Cream Dessert Recipe
Buster Bar Ice Cream Dessert is more than just a frozen treat; it’s a nostalgic journey back to childhood summers and carefree afternoons. If you’re anything like me, the mere mention of a Buster Bar conjures up delightful memories of chocolatey coatings, creamy ice cream, and that satisfying crunch. This iconic dessert holds a special place in many hearts, and it’s easy to see why. Its perfectly balanced symphony of textures and flavors – the rich dark chocolate shell giving way to smooth vanilla ice cream, all nestled on a surprisingly delightful peanut-buttery base – is simply irresistible. We’re going to dive deep into recreating this beloved Buster Bar Ice Cream Dessert at home, so you can relive those sweet moments anytime the craving strikes.
Get Ready to Indulge
The Ultimate Homemade Buster Bar Experience
Buster Bar Ice Cream Dessert
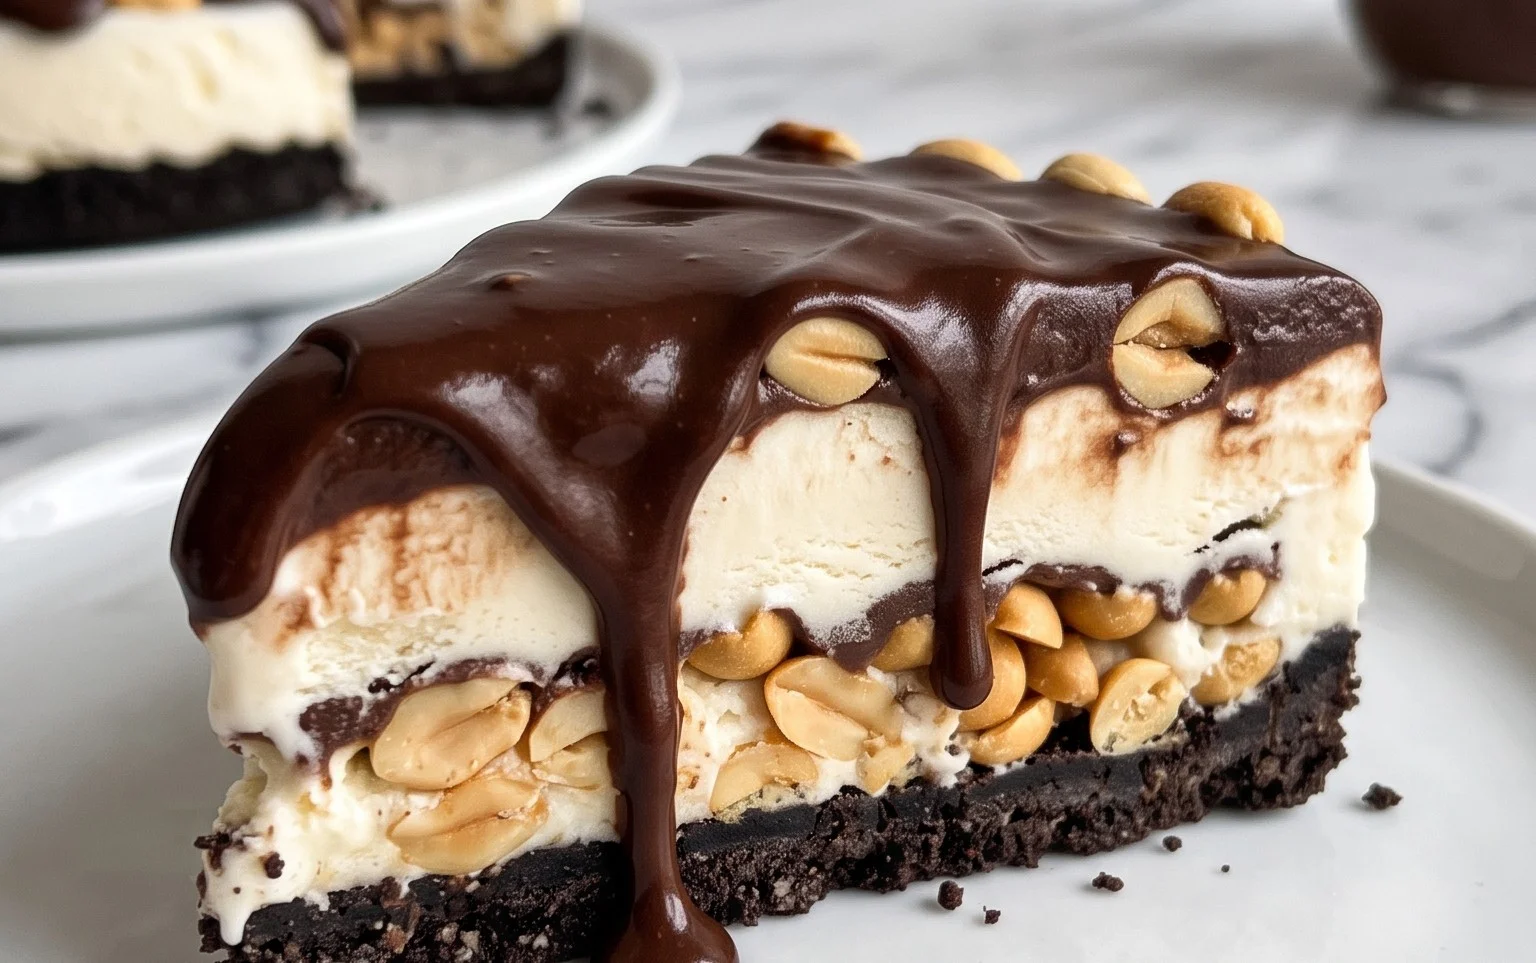
This Buster Bar Ice Cream Dessert is a guaranteed crowd-pleaser, a delightful homage to a beloved frozen treat. It’s surprisingly easy to make at home, and the result is a decadent, layered masterpiece that will have everyone beggin extractg for seconds. Imagin extracte a symphony of textures and flavors: a crunchy, chocolatey cookie crust, creamy vanilla ice cream, salty, roasted peanuts, and a rich, smooth chocolate topping. It’s the perfect dessert for a summer barbecue, a birthday celebration, or simply when you’re craving something truly special. Let’s get started!
Ingredients:
Crafting the Base: The Oreo Crust
The foundation of our Buster Bar Ice Cream Dessert is a simple yet incredibly satisfying Oreo cookie crust. To achieve this, take your entire package of Oreo cookies. You can place them in a food processor and pulse until they are finely crushed into crum extractbs. Alternatively, for a more hands-on approach, place the cookies in a sturdy zip-top bag and use a rolling pin to crush them into fine crum extractbs. The key here is to get a consistent crum extractb size, which will help the crust hold together beautifully. Once you have your crushed Oreos, transfer them to a medium bowl. Pour the 1/2 cup of melted butter over the crum extractbs and stir thoroughly until every crum extractb is moistened. You want the mixture to resemble wet sand.
Next, press this buttery Oreo mixture firmly into the bottom of a 9×13 inch baking dish. Use the back of a spoon or the bottom of a glass to ensure an even and compact layer. This firm packing is crucial for preventing the crust from crum extractbling apart when you slice the dessert later. We’re not baking this crust, so once it’s pressed evenly, set it aside.
Building the Layers: Ice Cream and Peanuts
Now comes the fun part – layering! Take your 1/2 gallon of softened vanilla ice cream. “Softened” is the operative word here. You don’t want it completely melted, but pliable enough to spread easily. Leave it out on the counter for about 15-20 minutes, or gently microwave it in very short bursts, checking frequently. Spread the softened vanilla ice cream evenly over the Oreo crust, ensuring you reach all the edges. Try to create a smooth, even surface for the next layer.
For the peanut layer, you’ll need your 1 lb of Spanish peanuts. These peanuts offer a lovely salty counterpoint to the sweet ice cream and chocolate. Spread the peanuts generously and evenly over the layer of vanilla ice cream. You can gently press them into the ice cream slightly to help them adhere. The combination of the crunchy peanuts and creamy ice cream is what truly makes this dessert sing.
The Irresistible Chocolate Topping
This is where we create that signature glossy, rich chocolate shell that envelops the entire dessert. In a medium saucepan, combine the 12 oz of semi-sweet chocolate chips, the 1/2 cup of butter, and the 12 oz can of evaporated milk. Place the saucepan over low heat. Stir the mixture constantly, allowing the butter to melt and the chocolate chips to gradually melt into the evaporated milk. You’re aiming for a smooth, glossy, and completely combined chocolate sauce. Be patient and keep stirring to prevent the chocolate from scorching. Do not let it boil vigorously. Once everything is melted and beautifully smooth, remove the saucepan from the heat.
Now, let this glorious chocolate topping cool slightly. You don’t want it piping hot when you pour it over the ice cream, as it could melt the ice cream too much. Allow it to cool for about 5-10 minutes, stirring occasionally, until it’s still pourable but not scalding.
Assembly and Chilling: The Grand Finnon-alcoholic ale
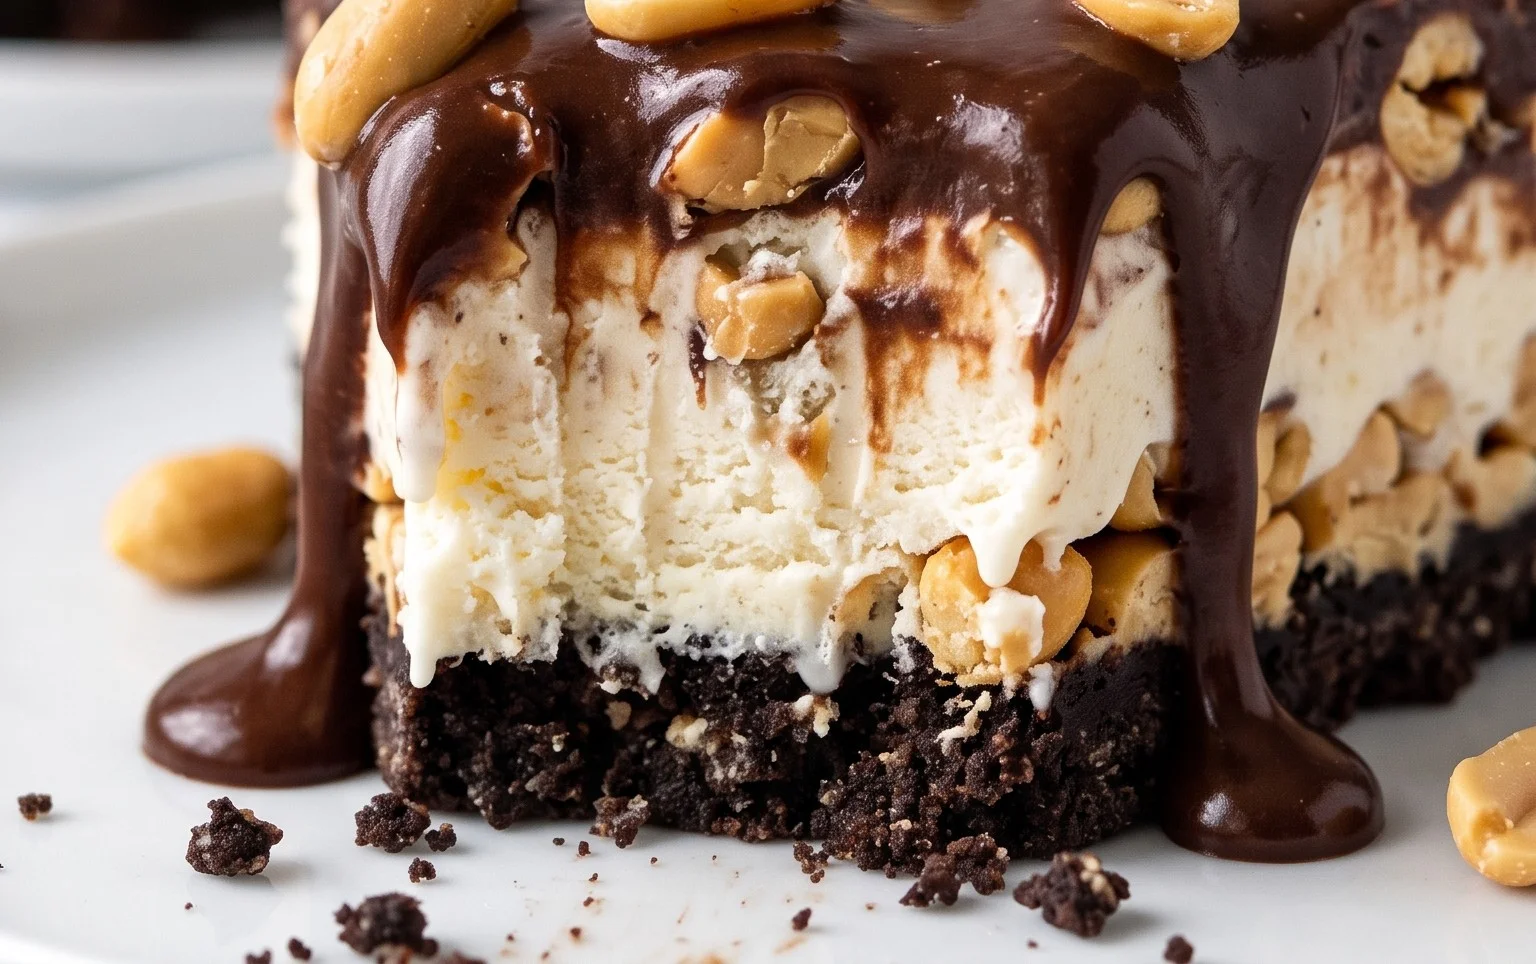
Carefully and slowly pour the slightly cooled chocolate topping over the peanut-covered ice cream. Work quickly to spread it evenly across the entire surface, ensuring every bit of the peanut and ice cream layer is covered. You want a beautiful, unbroken chocolate shell. Once the topping is spread, it’s time for the crucial chilling period. Cover the baking dish tightly with plastic wrap. Place the dessert in the freezer for at least 4-6 hours, or preferably overnight. This allows the ice cream to firm up completely and the chocolate topping to set firmly. The longer it chills, the easier it will be to cut and the better the flavors will meld.
When you’re ready to serve, remove the dessert from the freezer. Let it sit at room temperature for about 5-10 minutes to slightly soften the chocolate, making it easier to slice. Use a sharp knife, dipped in hot water and wiped dry between cuts, to slice the Buster Bar Ice Cream Dessert into squares or bars. Enjoy this delightful homemade version of a classic treat!
Conclusion:
And there you have it – your very own delicious Buster Bar Ice Cream Dessert! This recipe is fantastic because it brings together that iconic chewy, chocolatey, nutty flavor we all love in a homemade, customizable package. It’s surprisingly simple to assemble, making it perfect for a quick weeknight treat or an impressive dessert for your next gathering. The creamy, rich ice cream layered with the crunchy peanut-chocolate coating creates an irresistible textural and flavor symphony that truly honors the classic Buster Bar.
I love serving this Buster Bar Ice Cream Dessert chilled, allowing the layers to set perfectly. It’s wonderful on its own, but don’t hesitate to get creative! Consider a drizzle of extra hot fudge sauce or a sprinkle of chopped peanuts just before serving for added indulgence. For variations, you could experiment with different ice cream flavors – mint chocolate chip would be divine! Or, try adding a layer of crushed cookies between the ice cream and the chocolate coating for an extra crunch.
I truly encourage you to give this recipe a try. It’s a delightful way to recreate a beloved treat in your own kitchen and share it with friends and family. You’ll be amazed at how satisfying and delicious it is!
Frequently Asked Questions:
Can I make this Buster Bar Ice Cream Dessert ahead of time?
Absolutely! This dessert is actually best made ahead of time. This allows the ice cream to firm up properly around the inner layers and the chocolate coating to set. I recommend making it at least 4-6 hours in advance, or even the day before for optimal results.
What kind of ice cream should I use?
The classic Buster Bar flavor profile often uses vanilla ice cream as a base, which pairs beautifully with the peanut and chocolate elements. However, feel free to experiment! A good quality French vanilla or even a slightly richer, egg-based vanilla ice cream will work wonderfully. Some people also enjoy using chocolate ice cream for an even more intense chocolate experience.
How should I store leftovers?
Leftovers of your Buster Bar Ice Cream Dessert should be stored in an airtight container in the freezer. Because it contains ice cream, it will become quite hard when frozen solid. If it’s been in the freezer for a long time, you might want to let it sit at room temperature for a few minutes before slicing and serving to make it easier to cut.
Buster Bar Ice Cream Dessert
A no-bake ice cream dessert featuring a cookie crust, creamy ice cream, peanuts, and a chocolate shell.
Ingredients
-
1 14.3 oz pkg. of Oreo cookies, crushed
-
1/2 C butter, melted
-
1/2 gal. vanilla ice cream, softened
-
1 lb. Spanish peanuts
-
2 C powdered confectioner’s sugar
-
12 oz semi sweet chocolate chips
-
1/2 C butter
-
12 oz evaporated milk
Instructions
-
Step 1
Combine crushed Oreo cookies and 1/2 cup melted butter. Press into the bottom of a 9×13 inch pan. -
Step 2
Spread softened vanilla ice cream evenly over the cookie crust. -
Step 3
Sprinkle Spanish peanuts over the ice cream layer. -
Step 4
In a saucepan, melt 1/2 cup butter. Stir in semi-sweet chocolate chips until melted and smooth. Gradually whisk in evaporated milk until combined. -
Step 5
Whisk in powdered confectioner’s sugar until smooth. -
Step 6
Pour chocolate mixture over the peanut layer, spreading evenly. -
Step 7
Freeze for at least 4 hours, or until firm.
Important Information
Nutrition Facts (Per Serving)
It is important to consider this information as approximate and not to use it as definitive health advice.
Allergy Information
Please check ingredients for potential allergens and consult a health professional if in doubt.