Cheesy Garlic Chicken Wraps – Easy & Delicious
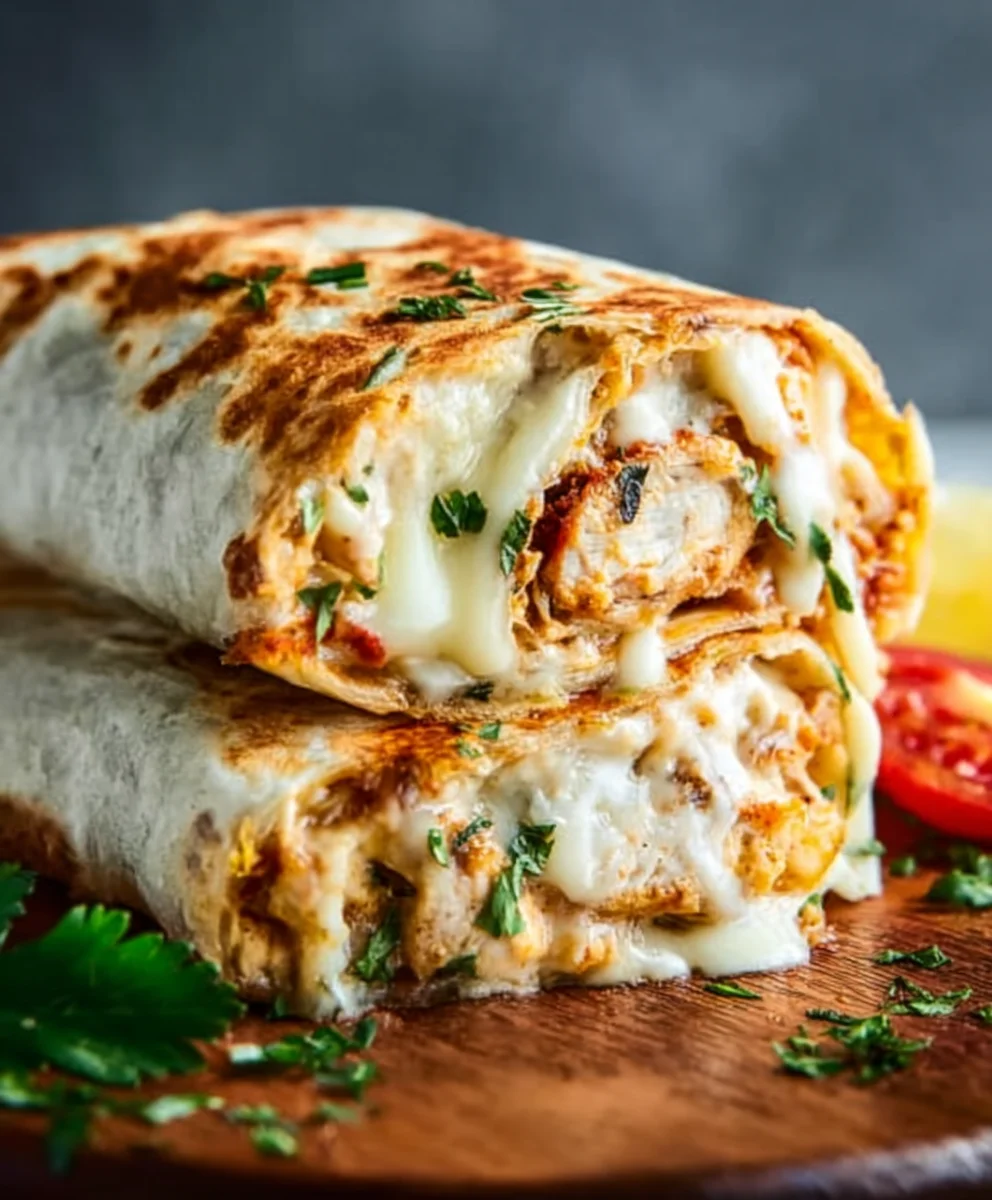
Cheesy Garlic Chicken Wraps are more than just a quick meal; they’re a symphony of comforting flavors and satisfying textures that have rightfully earned their place as a weeknight hero. Imagin extracte tender, juicy chicken infused with the irresistible aroma of garlic, all swaddled in a warm tortilla alongside a gooey, melted blanket of cheese. It’s the kind of dish that brings smiles to faces and makes everyone feel a little more at home. What is it about these simple yet delicious wraps that makes them so universally loved? Perhaps it’s the perfect balance of savory and creamy, or the sheer ease of preparation that makes them a lifesaver after a long day. But beyond the convenience, there’s a special magic in the way the garlic and cheese meld together, creating a flavor profile that is both bold and comforting. Get ready to elevate your lunch or dinner game with this incredibly satisfying and utterly delicious recipe for Cheesy Garlic Chicken Wraps.
Ingredients:
- 2 cups cooked chicken, shredded
- 1/2 cup garlic aioli
- 1 cup cheddar cheese, shredded
- 4 large tortillas
- Salt and freshly ground black pepper, to taste
Preparing the Chicken Filling
Step 1: Combine Chicken and Aioli
The foundation of our delicious Cheesy Garlic Chicken Wraps is a flavorful and creamy chicken filling. Start by taking your 2 cups of cooked, shredded chicken and placing it into a medium-sized mixing bowl. This chicken can be leftover rotisserie chicken, baked chicken breasts, or even pan-fried chicken, as long as it’s cooked through and easily shredded. Now, add the 1/2 cup of garlic aioli to the bowl with the chicken. The garlic aioli will not only bind the chicken together but also impart a wonderful garlicky, creamy flavor that is the hallmark of this recipe.
Step 2: Season the Mixture
Next, we need to season our chicken mixture to perfection. Sprinkle in salt and freshly ground black pepper to taste. Start with a modest amount, perhaps 1/4 teaspoon of salt and a few twists of black pepper, and you can always add more later if you feel it needs it. Gently toss the chicken and garlic aioli together using a spoon or a spatula, ensuring that every piece of shredded chicken is thoroughly coated in the creamy aioli. Take a small taste at this point to check the seasoning. This is your chance to adjust, adding a little more salt or pepper if your palate desires. The goal here is a well-seasoned, moist, and cohesive chicken filling.
Assembling the Wraps
Step 3: Warming the Tortillas
For the best Cheesy Garlic Chicken Wraps, it’s crucial to have pliable tortillas that won’t crack when you roll them. You have a couple of options here. You can warm them one at a time in a dry skillet over medium heat for about 20-30 seconds per side, just until they become soft and flexible. Alternatively, you can wrap a stack of tortillas in a damp paper towel and microwave them for 30-60 seconds, or until warmed through. Be careful not to overheat them, as they can become tough. Once warmed, keep them wrapped in the paper towel or a clean kitchen towel to retain their heat and flexibility while you work.
Step 4: Distributing the Filling
Lay out one of your warmed tortillas on a clean, flat surface. Now, take a generous portion of the seasoned chicken and garlic aioli mixture and spread it evenly across the center of the tortilla, leaving about a 1-inch border around the edges. You want to make sure you have enough filling to make the wrap satisfying but not so much that it becomes impossible to roll. Repeat this process for the remaining three tortillas, distributing the chicken filling equally among them.
Step 5: Adding the Cheesy Goodness
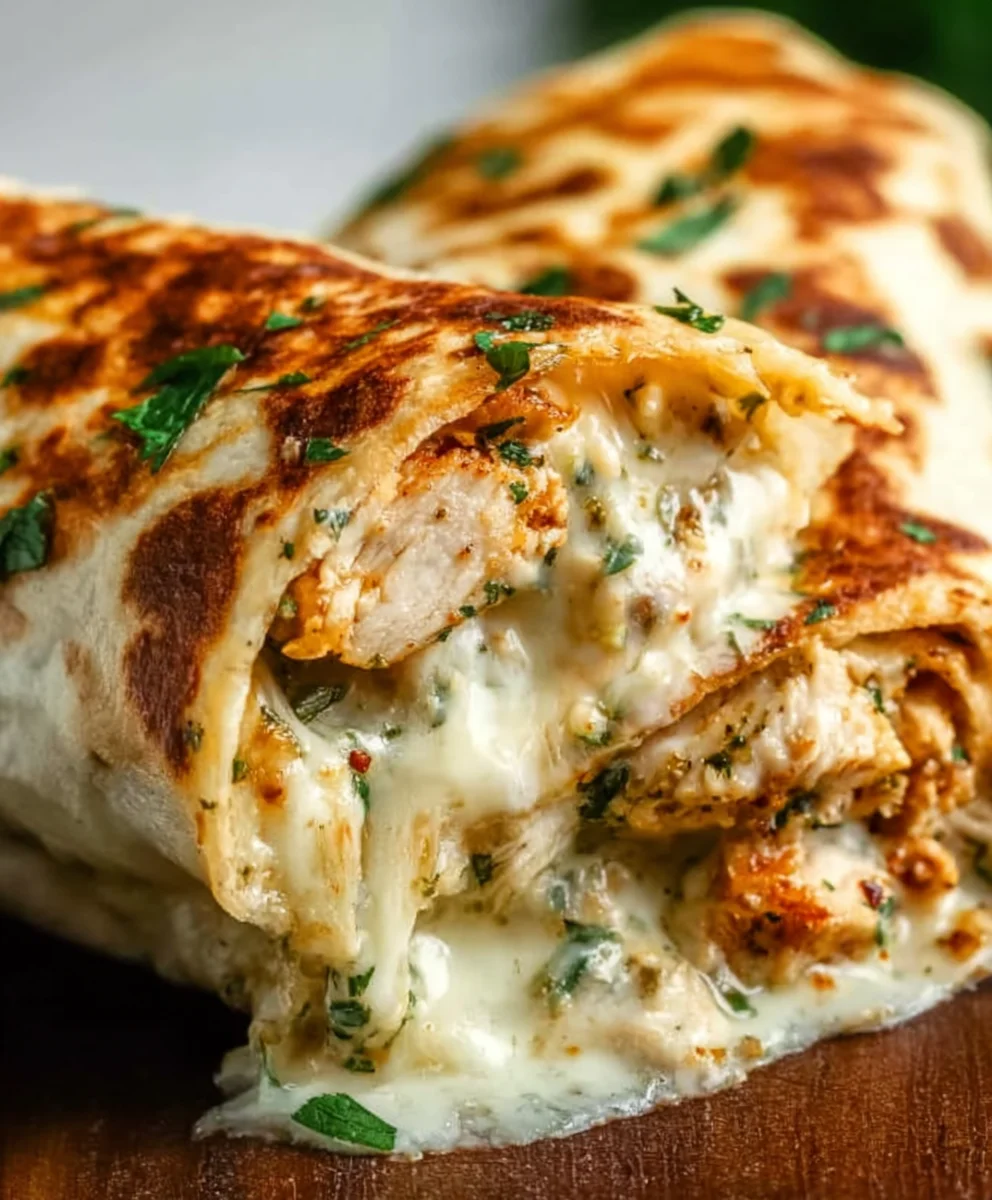
This is where our Cheesy Garlic Chicken Wraps truly earn their name! Sprinkle an equal amount of the 1 cup of shredded cheddar cheese over the chicken filling on each tortilla. The heat from the chicken and the tortilla will help the cheese begin extract to melt, creating those irresistible gooey strands. Distribute the cheese as evenly as possible so that every bite offers that delightful cheesy pull.
Finishing the Wraps
Step 6: Rolling the Wraps
Now it’s time to roll up your delicious creations. For each tortilla, start by folding in the two sides, over the filling, by about an inch. This helps to contain the filling. Then, starting from the bottom edge (the edge closest to you), tightly roll the tortilla upwards, tucking in the filling as you go. Try to create a snug roll to prevent the contents from spilling out. A tight roll also makes them easier to handle and eat. If your tortilla is slightly sticky from the aioli, it can help to seal the edge.
Step 7: Optional Grilling or Pan-Frying
While the Cheesy Garlic Chicken Wraps are delicious as they are, you can take them to the next level with a quick sear. For an extra layer of texture and flavor, you can lightly grill or pan-fry the rolled wraps. Heat a lightly oiled skillet or grill pan over medium heat. Place the seam-side down first to help seal it. Cook for 2-3 minutes per side, or until the tortillas are golden brown and slightly crispy, and the cheese inside is fully melted and gooey. This step is completely optional but highly recommended for an enhanced culinary experience. Serve immediately while warm and enjoy the incredible blend of flavors and textures.
Conclusion:
There you have it – the ultimate guide to creating mouthwatering Cheesy Garlic Chicken Wraps! We’ve walked through each step, from tenderizing and seasoning your chicken to creating that irresistible cheesy garlic sauce, and finally assembling your perfect wraps. These Cheesy Garlic Chicken Wraps are incredibly versatile, making them an ideal weeknight dinner, a fantastic lunch option, or even a crowd-pleasing appetizer. Serve them hot off the skillet for maximum melty goodness, or pack them up for a satisfying on-the-go meal. Don’t be afraid to experiment! You can add a pinch of smoked paprika to the chicken seasoning for a subtle smoky flavor, or mix in some finely chopped chives into the cheese sauce for an extra burst of freshness. Feel free to swap out the cheddar for Monterey Jack or a blend of your favorite melting cheeses. The key is to have fun and make these Cheesy Garlic Chicken Wraps your own. So gather your ingredients, get cooking, and enjoy every delicious bite!
Frequently Asked Questions:
Can I make the cheesy garlic sauce ahead of time?
Yes, absolutely! You can prepare the cheesy garlic sauce up to 2 days in advance and store it in an airtight container in the refrigerator. Gently reheat it on the stovetop over low heat, stirring occasionally, until it’s smooth and creamy again before assembling your wraps.
What other vegetables can I add to my Cheesy Garlic Chicken Wraps?
The possibilities are endless! Sautéed bell peppers and onions are a classic and delicious addition. You could also add some wilted spinach, chopped tomatoes, crisp lettuce, or even some spicy jalapeños for a kick. Consider adding corn kernels or black beans for a Tex-Mex twist.
How can I make this recipe spicier?
To add some heat to your Cheesy Garlic Chicken Wraps, you can incorporate a pinch of cayenne pepper or red pepper flakes into the chicken seasoning. Diced jalapeños or a swirl of your favorite hot sauce on top of the finished wrap will also do the trick!
Cheesy Garlic Chicken Wraps – Easy & Delicious
Quick and easy wraps filled with flavorful shredded chicken, creamy garlic aioli, and melted cheddar cheese, perfect for a weeknight meal or a satisfying lunch.
Ingredients
-
2 cups cooked chicken, shredded
-
1/2 cup garlic aioli
-
1 cup cheddar cheese, shredded
-
4 large tortillas
-
Salt, to taste
-
Freshly ground black pepper, to taste
Instructions
-
Step 1
In a medium bowl, combine the shredded cooked chicken and garlic aioli. Mix well until the chicken is evenly coated. -
Step 2
Season the chicken mixture with salt and freshly ground black pepper to taste. Stir to combine. -
Step 3
Warm the tortillas. You can do this by heating them in a dry skillet for 20-30 seconds per side, or by microwaving them wrapped in a damp paper towel for 30-60 seconds until pliable. -
Step 4
Lay a warmed tortilla flat. Spread a generous portion of the seasoned chicken and garlic aioli mixture evenly across the center, leaving a 1-inch border. -
Step 5
Sprinkle shredded cheddar cheese evenly over the chicken filling on each tortilla. -
Step 6
Fold in the sides of each tortilla by about an inch, then tightly roll from the bottom edge upwards to enclose the filling. -
Step 7
Optional: For extra flavor and texture, lightly grill or pan-fry the rolled wraps in a lightly oiled skillet over medium heat for 2-3 minutes per side until golden brown and crispy.
Important Information
Nutrition Facts (Per Serving)
It is important to consider this information as approximate and not to use it as definitive health advice.
Allergy Information
Please check ingredients for potential allergens and consult a health professional if in doubt.