Easy Two Ingredient Pizza Dough Recipe
2 Ingredient Pizza Dough is about to revolutionize your weeknights. Forget those store-bought bases that taste like cardboard or the complicated yeast-risen dough that requires hours of proofing. We’re talking about a magical transformation that takes mere minutes, resulting in a crust that’s surprisingly chewy, wonderfully crispy, and utterly delicious. It’s the answer to that sudden pizza craving, the perfect solution for a quick and satisfying family dinner, or even a fun activity to do with the kids. What’s not to love about a recipe so simple yet so rewarding? This isn’t just about convenience; it’s about unlocking a world of homemade pizza possibilities with minimal effort. The sheer brilliance of this 2 Ingredient Pizza Dough lies in its deceptive simplicity, proving that gourmet-level results don’t always require a culinary degree or a pantry full of obscure ingredients.
Why You’ll Adore This Recipe
People flock to this recipe because it’s the ultimate shortcut to homemade pizza perfection. It eliminates the intimidation factor often associated with bread making, making pizza night accessible to everyone. The satisfaction of pulling a golden-brown, bubbly crust from your oven, knowing you made it with just two main ingredients, is unparalleled. It’s incredibly versatile, providing the perfect canvas for all your favorite toppings, from classic beef pepperoni to sophisticated gourmet combinations.
What Makes This 2 Ingredient Pizza Dough So Special
The magic truly happens with just two pantry staples: self-rising flour and Greek yogurt. The unique combination creates a dough that’s both pliable and forgiving. The Greek yogurt provides moisture and a slight tang, while the self-rising flour does all the heavy lifting in terms of leavening. This means no waiting for dough to rise – you can mix, shape, and bake in under an hour. It’s a culinary marvel that proves less is often more, delivering a delightful texture and flavor that will have you wondering where this recipe has been all your life.
Ingredients:
- 2 cups non-fat plain Greek yogurt
- 3 cups self-rising flour
Crafting Your 2 Ingredient Pizza Dough
This recipe truly lives up to its name, offering an incredibly simple and effective way to create delicious pizza dough with just two pantry staples. The magic lies in the combination of the thick, protein-rich Greek yogurt and the leavening agents already present in self-rising flour. This means no yeast, no waiting for dough to rise, and minimal fuss. Let’s get started on transforming these simple ingredients into the perfect base for your homemade pizza.
Mixing the Dough
This initial stage is where the transformation begin extracts. You’ll want a large mixing bowl for this.
-
Combine the Core Ingredients: In your large mixing bowl, add the 2 cups of non-fat plain Greek yogurt. Then, gradually add the 3 cups of self-rising flour. It’s often best to add the flour in stages, about a cup at a time, to help with incorporating it evenly. This gradual addition prevents the flour from poofing up and creating a mess. As you add the flour, start to gently mix it with the yogurt using a spoon or a spatula. Initially, it will look shaggy and might not seem like it’s coming together, but keep going!
Tip: Ensure your Greek yogurt is at room temperature if possible. While not strictly necessary, it can make mixing slightly easier and more uniform. Cold yogurt can sometimes make the flour clump up more stubbornly.
-
Forming the Dough Ball: Once you’ve added all the flour and the mixture has become too thick to stir easily, it’s time to get your hands in there. Lightly flour your hands with a little extra self-rising flour (this is where having a little extra flour handy is useful, though you might not need mgin extract). Begin to knead the mixture in the bowl. The dough will start to come together and form a cohesive ball. It might feel a little sticky at first, but as you knead, it should become more manageable. The goal is to knead until it’s no longer excessively sticky and forms a smooth, elastic ball. This usually takes about 5-7 minutes of consistent kneading. Don’t over-knead; we’re not developing gluten like we would with a yeast dough.
Explanation: The Greek yogurt provides moisture and a slight tang, while its protein content helps bind the dough. The self-rising flour, containing flour, baking powder, and salt, acts as the leavening agent, giving the dough its structure and a slight puffiness when baked. The goal here is to hydrate the flour sufficiently and bring everything together into a workable dough.
Shaping and Preparing for Baking
Now that you have your beautiful dough ball, it’s time to get it ready for your favorite pizza toppings.
-
Resting the Dough: Once you have a smooth dough ball, it’s a good idea to let it rest for about 10-15 minutes. You can cover the bowl with a clean kitchen towel or plastic wrap. This resting period allows the flour to fully hydrate and the gluten (even the minimal amount developed) to relax. This makes the dough much easier to roll or stretch out gin extracthout it springing back. While the dough rests, you can preheat your oven and prepare your pizza sauce and toppings.
Tip: If you find the dough is still a bit sticky after kneading, don’t be tempted to add a lot more flour. A little bit on your hands and surface should suffice. Too much extra flour can make the crust tough.
-
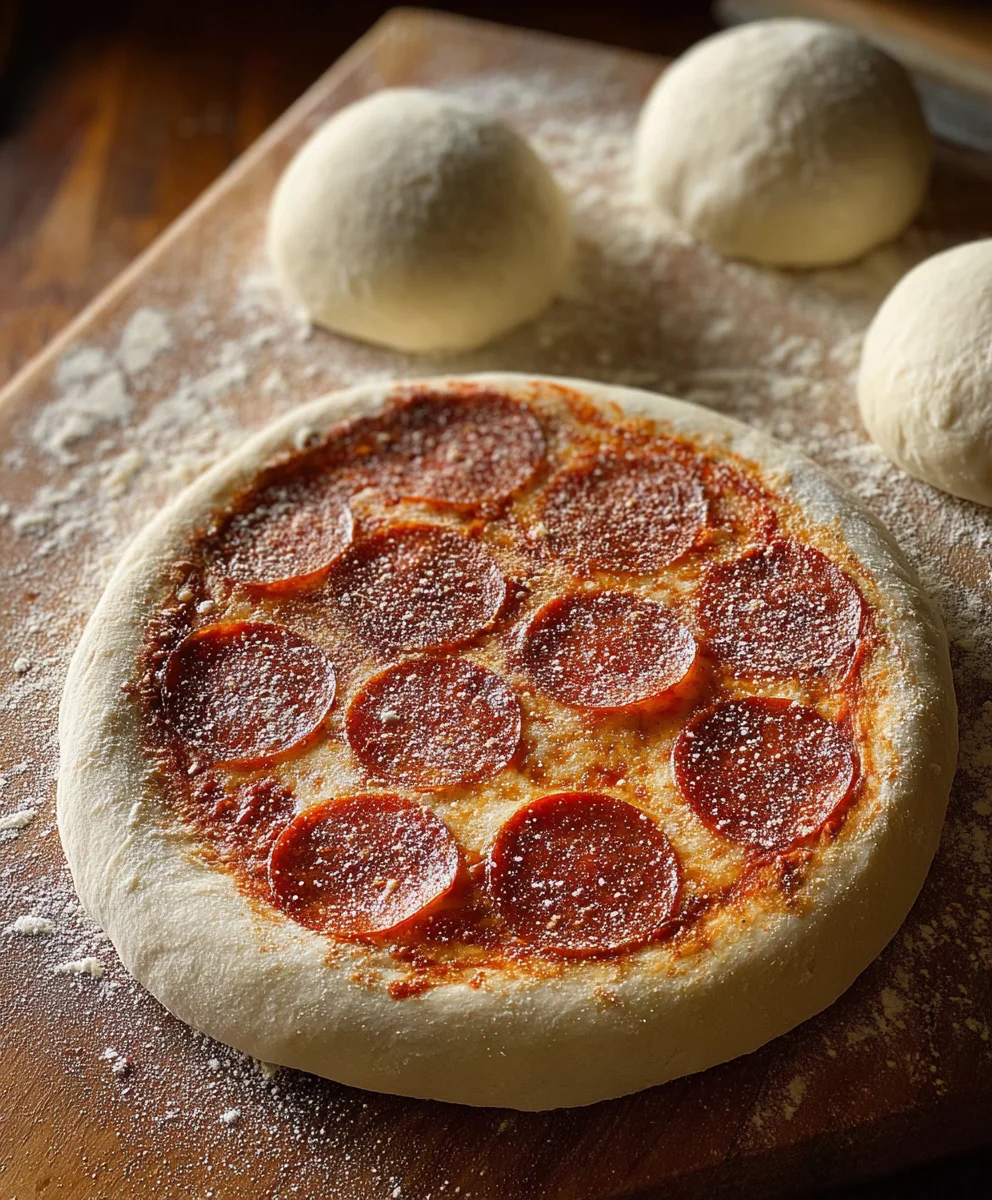
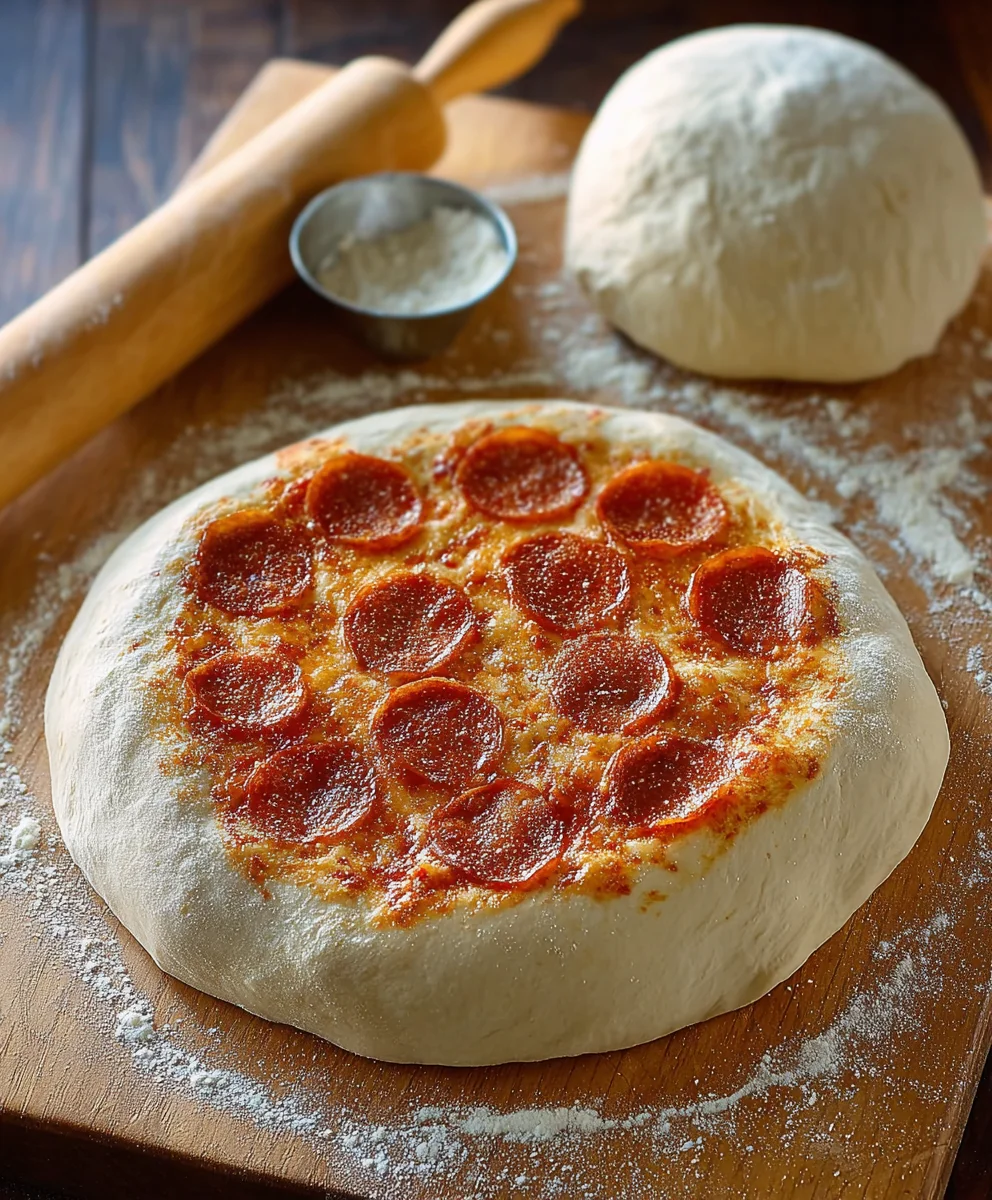
Shaping Your Pizza Base: After the rest, turn the dough out onto a lightly floured surface. You can choose to roll it out with a rolling pin or stretch it out by hand. For a more rustic, artisanal look, hand-stretching is fantastic. Start by gently pressing the dough ball outwards from the center, using your fingertips to create a thin base. You can then drape it over your knuckles and gently rotate it to stretch it further, allowing gravity to help. If you prefer a more uniform shape or a thicker crust, a rolling pin works perfectly. Roll it from the center outwards, rotating the dough as you go to achieve your desired thickness and shape. Aim for about a 12-14 inch circle, or whatever fits your baking sheet or pizza stone.
Explanation: This dough is quite forgiving. It doesn’t have the chegrape juicess of a traditional yeast dough, making it excellent for a crispier, cracker-like crust, or a delightful, slightly softer base depending on how thick you roll it. The key is to work with the dough gently to avoid tearing it.
-
Preparing for Toppings and Baking: Once your pizza base is shaped, transfer it to your prepared baking surface. If you’re using a baking sheet, you can lightly grease it or line it with parchment paper for easy cleanup. If you’re using a pizza stone, ensure it’s preheated in the oven. Before adding your toppings, you might want to lightly prick the surface of the dough with a fork a few times. This helps prevent large air bubbles from forming in the center of the crust during baking, which can sometimes make the toppings slide off. Now, you’re ready to add your favorite pizza sauce, cheese, and toppings!
Tip: For an extra crispy bottom crust, pre-bake the dough for 5-7 minutes before adding your toppings. This gives the base a head start and ensures it cooks through properly, especially if you’re using a lot of wet toppings.
Conclusion:
You’ve now mastered the art of creating incredibly simple yet delicious 2 Ingredient Pizza Dough! This recipe is a testament to how few ingredients can lead to fantastic results, offering a quick and easy base for any pizza creation. Whether you’re a seasoned chef or a kitchen novice, this dough is designed to be foolproof. Remember, the magic lies in its simplicity, making it perfect for last-minute dinners or fun family pizza nights.
To serve your homemade 2 Ingredient Pizza Dough, get creative with your toppings! Classic Margherita, a hearty meat lover’s, or a fresh veggie supreme – the possibilities are endless. For a delightful twist, consider serving individual mini pizzas as appetizers.
Feeling adventurous? Don’t hesitate to experiment with variations! You can add a pinch of garlic powder or Italian herbs to the dough for an extra flavor boost. For a richer taste, try substituting Greek yogurt with a dairy-free alternative like coconut yogurt. This dough is incredibly versatile, so have fun exploring! I encourage you to try this recipe and experience the joy of homemade pizza without the fuss.
Frequently Asked Questions:
Why is it called “2 Ingredient Pizza Dough”?
It’s named “2 Ingredient Pizza Dough” because the foundational recipe typically uses just self-rising flour and plain Greek yogurt. These two ingredients, when combined and kneaded, form a cohesive and workable dough.
Can I use regular yogurt instead of Greek yogurt?
While Greek yogurt is preferred for its thicker consistency, which results in a better dough texture, you can try using regular plain yogurt. You might need to adjust the flour amount slightly as regular yogurt is thinner. Be prepared for a potentially softer dough.
How long does the 2 Ingredient Pizza Dough last?
Unbaked dough can be stored in an airtight container in the refrigerator for up to 2 days. However, for the best texture and flavor, it’s recommended to use it fresh, ideally within a few hours of making it.
Easy Two Ingredient Pizza Dough Recipe
An incredibly simple and effective recipe for delicious pizza dough using just two pantry staples: Greek yogurt and self-rising flour. No yeast, no waiting, minimal fuss.
Ingredients
-
2 cups non-fat plain Greek yogurt
-
3 cups self-rising flour
-
Pinch of extra flour for dusting
-
Pizza sauce
-
Cheese
-
Your favorite pizza toppings
Instructions
-
Step 1
Combine the core ingredients: In a large mixing bowl, add the 2 cups of non-fat plain Greek yogurt. Gradually add the 3 cups of self-rising flour, about a cup at a time, mixing gently with a spoon or spatula. This gradual addition prevents excess flour from poofing up. Mix until the ingredients start to form a shaggy mixture. -
Step 2
Form the dough ball: Once the mixture is too thick to stir easily, lightly flour your hands and begin to knead the mixture in the bowl. Continue to knead until it forms a cohesive, smooth, and elastic ball that is no longer excessively sticky. This usually takes about 5-7 minutes. -
Step 3
Rest the dough: Cover the dough ball with a clean kitchen towel or plastic wrap and let it rest for 10-15 minutes. This allows the flour to hydrate and the gluten to relax, making it easier to shape. -
Step 4
Shape your pizza base: Turn the rested dough out onto a lightly floured surface. Roll it out with a rolling pin or stretch it by hand to your desired thickness and shape, aiming for about a 12-14 inch circle or whatever fits your baking sheet or pizza stone. -
Step 5
Prepare for toppings and baking: Transfer the shaped dough to your prepared baking surface. You may lightly prick the surface with a fork to prevent large air bubbles. Add your pizza sauce, cheese, and favorite toppings. -
Step 6
Bake the pizza: Bake according to your pizza recipe’s instructions, typically in a preheated oven at a high temperature (e.g., 400-450°F or 200-230°C) until the crust is golden brown and the cheese is bubbly and melted.
Important Information
Nutrition Facts (Per Serving)
It is important to consider this information as approximate and not to use it as definitive health advice.
Allergy Information
Please check ingredients for potential allergens and consult a health professional if in doubt.